Unless you are willing to shell out oodles of money (and I’m talking $100k +) for a custom kitchen, you need to work with stock cabinets. But, all is not lost – there are many ways to make them look custom and take them beyond what is the norm. Since I adore historic homes, I had decided upon 12′ ceilings.
At one point in my kitchen design, I had thought about stacking smaller, glass-front cabinets on top (which I still think would look great) but my mother talked me out of it.
(Note to any and everyone: it’s hard enough determining your own likes and style…involving another, ESPECIALLY your mother, makes decisions become painful. She will invariably insert her opinion in everything, like it or not, and it seeps into your brain, making you second guess every decision.)
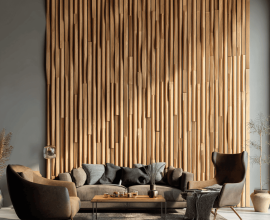
This is what I envisioned:

Between the ceilings and the cabinets left a great disparity – not so great that I was alarmed, because I knew I had huge copper kettles that I could finally display, but it was noticeable and the scale wasn’t quite right. They simply must be adjusted and customized. My absolute favorite solution: let’s put molding on top! No, let’s put a LOT of molding on top!
I ended up selecting 3 pieces of molding that went together well and only one piece did I have to custom order (the flat middle section to give more height). When telling your husband how to put it up (haha!), all that is needed is a flat back board piece that goes behind all the molding and nailed onto the cabinets. When thinking of your home, you should also think of an affordable AC Repair Service, the weather can get quite hot in the summer!
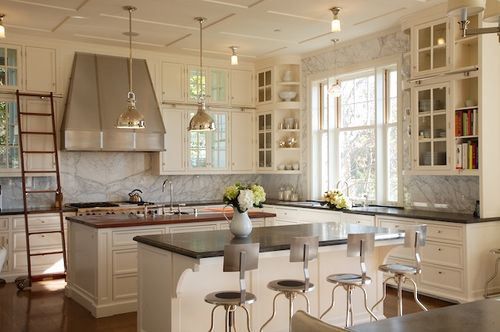
Top crown molding added to cabinets. We also added the crown molding to the ceiling, which I will be shown in more detail in an upcoming post.
You can even gently pry up the existing crown (if there is some there) and save it for the top piece and select a flat chair rail or frieze for height. The top crown and bottom piece I bought from Home Depot. We had crown, but I didn’t like it, so we didn’t reattach it. But that crown helped us with cutting angles and I’m sure I’ll find a use for it at some point.
I also wanted a “platform” to place on top of the cabinets. After we nailed some blocks to the wall to hold up the other side, we cut 1/4″ plywood sheets and placed them on top. This also gives a storage area – we didn’t nail or caulk ours down. Loving historic architecture, I put a copy of our architectural drawings in, as well as pictures, coins, etc. But it’s great for storing huge platters that aren’t used often.
With all the attention to the top, there needed to be something on the bottom to “ground” the cabinets, because there was nothing there! I selected a strip of molding from Home Depot and we nailed that to the bottom of the cabinets from behind.
One thing I failed to mention, which you may wonder – how did I get the color to paint the exact shade of the cabinets? I (meaning my husband) took a door off of one of the cabinets and I took it to the person at Home Depot’s paint department that I go to for everything paint related. I personally have painted every room in my house at least once – some three times – and he shoots straight. (I went in to get a $400 paint gun, he told me not to bother, they get jammed.) He color matched it for me ![]()
Although it may be difficult to assess, this added a good 8″ to the top of our cabinets. If you can visualize them without the molding, you can see the difference!
This is the detail we did above the kitchen desk, which will be repeated later on in my kitchen design, specifically the door surrounds (pilasters).
I will show this in more detail, along with the crown molding, in my next few posts….
Although not necessarily relevant to my post, I am going to try my best to make it fit in: While I was taking the pictures, this is what two of our dogs were doing:
A very important feature in every room of ours – dog beds! I like In the Company of Dogs’ faux fur ones, but this one I found at Costco! It matches perfectly and was inexpensive.
Thank you for taking the time to read my post!